I got into homebrewing in early university, in response to the Classic Student Dilemma.
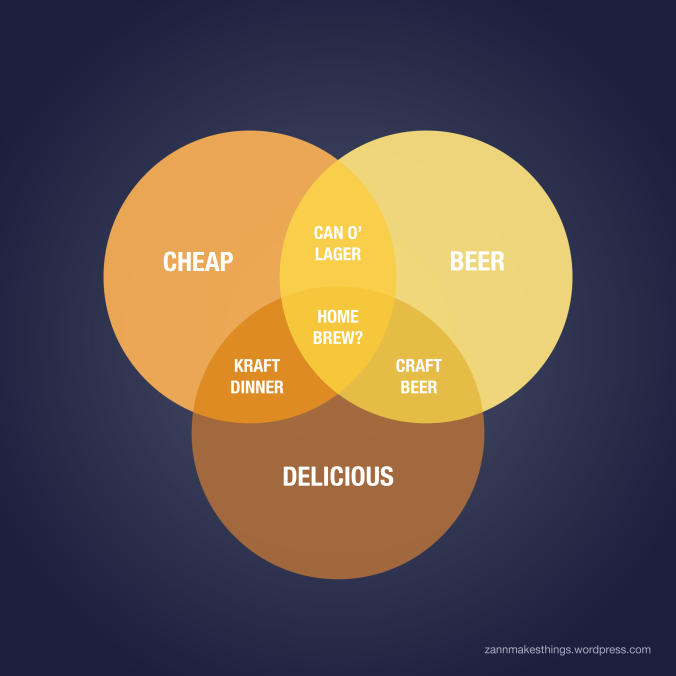
My hope was that home brewing could fill the magical reuleaux triangle in the centre there, allowing me to nurture my budding affinity for really tasty beer without sacrificing my affinity for paying rent on time and having a place to live. Because in my head, making it myself must be cheaper than getting someone else to make it for me.
Spoiler: nope. But as meatloaf said, 2 out of 3 ain’t bad.
My findings, at least initially, were as follows:
Yes, delightful flavour
Yes show off at parties
No, not cheaper
Sometimes home-brew DOES fit the reuleaux and can be made cheaper than even the budgetiest of budget beers, but I make too many expensive mistakes for that to be the case on my first go-round. If you want to see my home-brew for savings calculations, skip to the bottom. It can be done.
The Process
I know now that brewing pretty much goes like this:
On boil day, you boil up the ingredients, stick them in a bucket or a giant glass bottle, then wait two weeks for the yeast to do their thing.
On bottle day, you add a bit more sugar and siphon the contents of your giant bottle into a bunch of little bottles. Then you wait another two weeks for it all to carbonate.
After about a month total, you crack your first home-made beer! And maybe stick the rest in the fridge so they don’t explode. Reeeeally have to watch out for that.
Getting Started
After getting hooked on this fantastical idea, I did some research online. This consisted of googling up my nearest home-brew shop, and reading as far as “anyone with a bit of time can do it”. With a whole half-day of knowledge and preparation under my belt, I went out to buy some stuff.
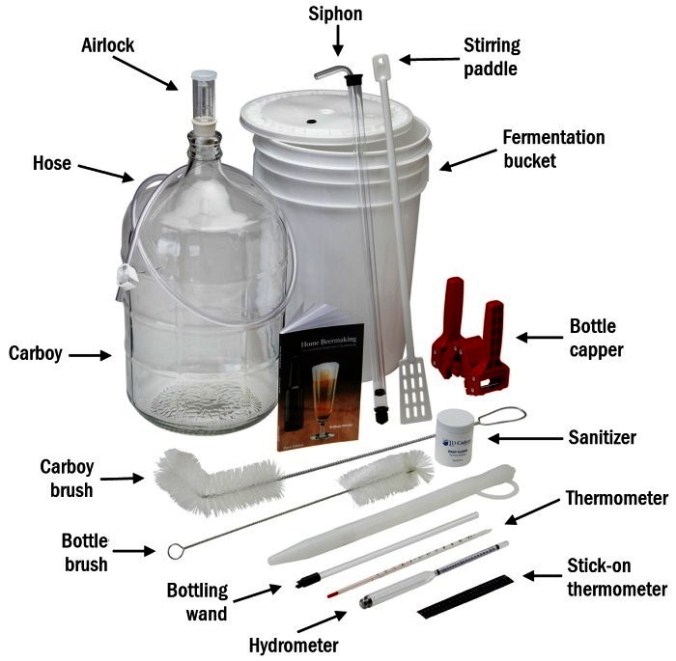
I asked my local home-brew shop for a basic recipe, and walked out with all the ingredients and equipment to get me started down the path to home brewing.
The kits was pretty much what’s pictured above with one notable exception: you see the red thing on the far right there? Yeah, I didn’t get one of those. More on that later.
My Ingredients
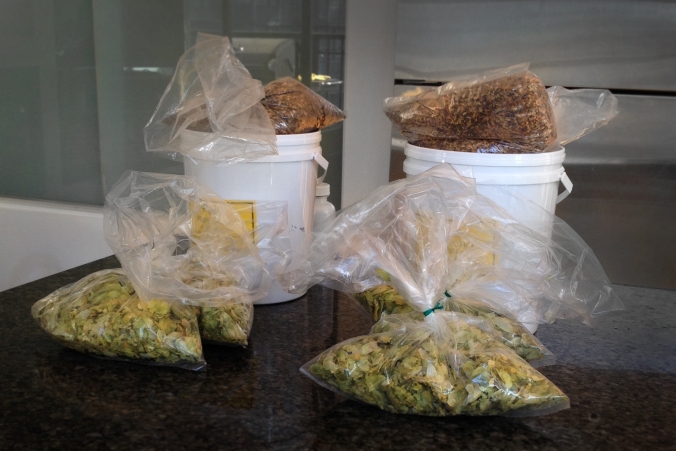
Two batches worth. Saves on gas, you know?
The Recipe:
8 lbs Pale Malt Extract
.5 lb British Crystal Malt
.25 lb Carapils Malt
.1 lb Chocolate Malt
9.4 AAU Nugget (0.65 oz) – Boil 1 hr
1 oz Cascade/Goldings – Finishing
Ale Yeast
The store was right: anyone with time can make beer! In fact, if it’s something you’re interested in, I highly recommend starting with the bible of homebrewing, John Palmer’s How to Brew. It’s a free online resource, and is responsible for the lives of a great, great many yeast organisms and a small ocean of beer.
My First Mistake
As I mentioned before, I did not grab one of those handy red “bottle capper” thingamajigs when I picked up my stuff. In fact, I didn’t even know those existed. So instead of picking up a bunch basically-free bottles and less-than-a-cent bottle caps, I went out and bought about 50 of these bad boys:
Great idea, right? They held a bit more than a standard 12oz/355mL bottle, and they should be pretty cheap, right?
…right?
Ehhh they’re about $2 each. So there goes another $100.
Brew Day 1: The Boil
Boil day does have a few more steps apart from just boiling stuff. After boiling, the pre-beer (wort) needs to be cooled as fast as possible to chill some proteins out. Once the boiling stops, sterilization is the name of the game.
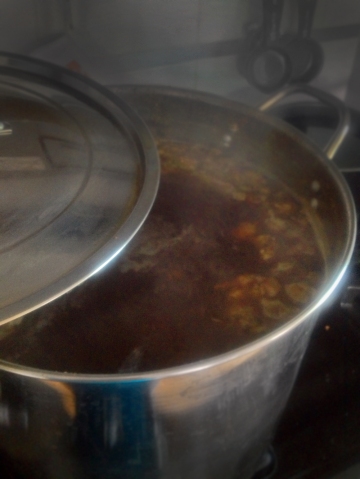
The boil takes about an hour. Pictured here: extract from the little white bucket above and about half the hops and water.
I’ve heard 90% of good brewing is good cleaning. So even here in BC with our ridiculously good water, it’s a bad idea to just add cold tap water to cool your wort. So into the sink with the whole thing and careful with the lid. I did rinse said lid with boiling water before sticking it on there. Clean!

At this point I’ve transferred the wort to the large white bucket on the right, where it will stay during fermentation. I’ve got my ice packs out and I’m about to fill the sink with water. The strainer on the left was used to take the hops out during the transfer from boiling kettle to fermentation bucket.
Once in the bucket and cooled to about body temperature, you can add your yeast. Yeast love being around the same temperature you are: it makes them gassy and pleased. When your yeast are pleased, they will make beer for you!
They will also blow some bubbles, so if your airlock doesn’t look like this after a couple days, something is wrong. Your yeast may have been DOA, so hopefully you bought a spare packet.
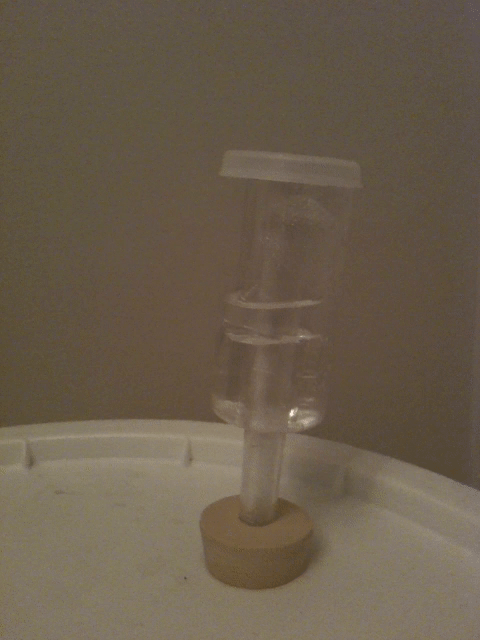
Yeast manifesto: eat sugar, poop alcohol. Fart CO2 constantly until dead.
After a couple weeks of waiting, the yeast had eaten pretty much all the sugar and I was ready to transfer my beerlings to their final containers.
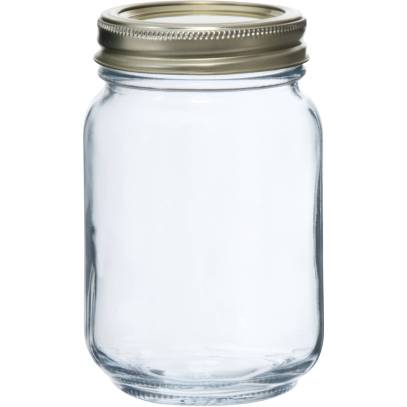
Bottle Day Jar Day
Turns out mason jars are a terrible choice for bottling beer. They have a mechanism for preservation that I hadn’t considered; namely, suction.
So when you put something in there that is constantly exhaling CO2 in an attempt to become carbonated, you don’t get suction at all. You get blowction. Or something. The result: all my CO2 escaped and I was left with 50 jars of flat beer.
They were delicious.
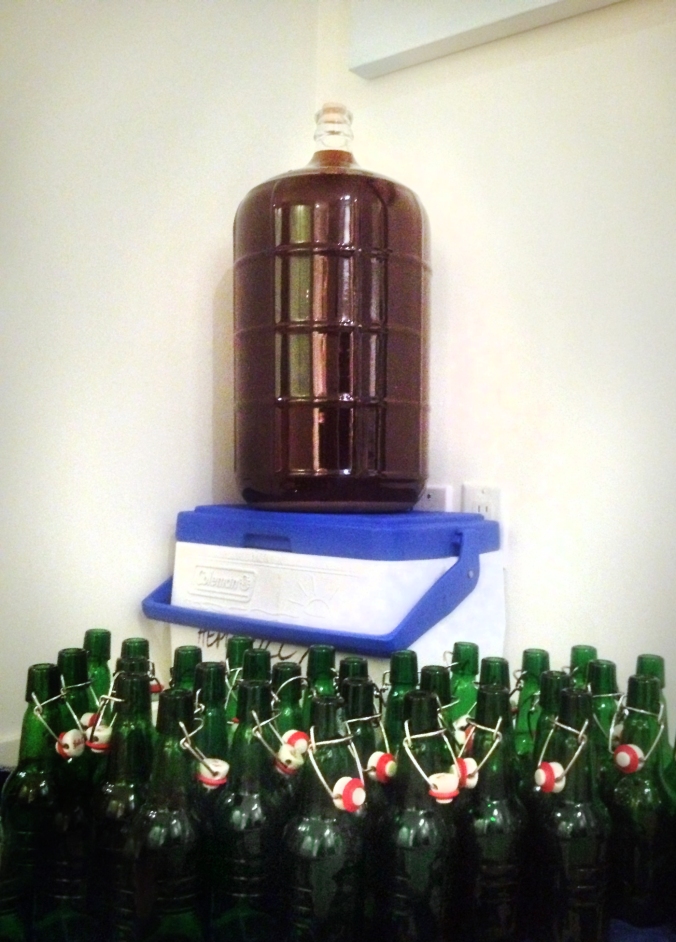
Attempt #2
After the dismal decarbonation of batch 1, I tried again. No jars this time. Still somehow unaware of the capping device, I turned to the next-next best thing: swing-top Grolsch bottles. Estimated cost to collect 50: $100.
Rinse, sterilize, repeat.
Just before bottling, I transferred all 23L from the bucket into the glass thing via tube to make sure the priming sugar was evenly distributed.
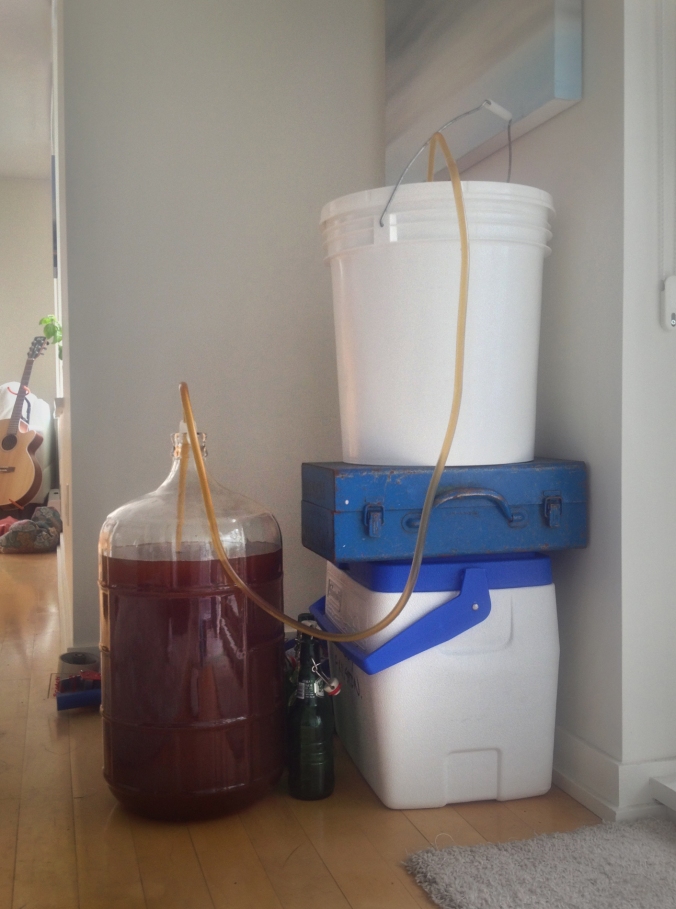
Siphoning is a good idea, pouring is not. Oxygen can introduce off-flavours to your beer, and trying to pour 23L of liquid through a hole the size of a modest yawn can introduce $50,000 in water damage to the apartments below.
Before siphoning, sterilize the tube with sanitizer, boil the sugar-water mixture until dead, and sanitize the siphoning mouth with whiskey.
Glorious
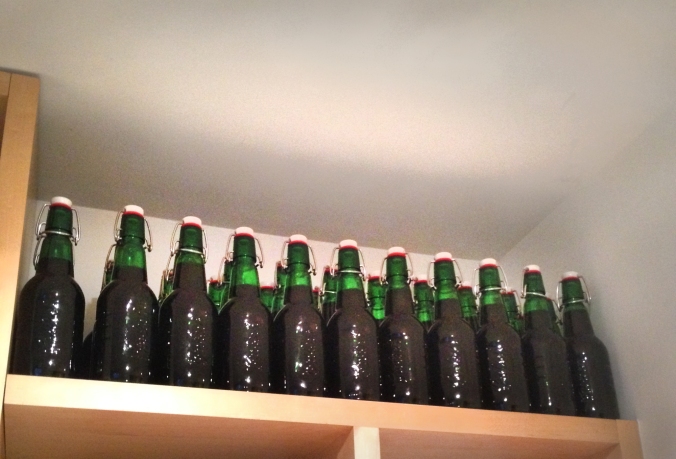
The swing-tops worked a treat. With everything squared away, I retired this second batch to my carbonation shelf until they were done.
Just kidding. I started drinking them after four days, to see how the carbonation was coming along. For science.
Success!
I haven’t scalded myself yet, and I haven’t blown anything up.
Let’s take a look at the numbers
Equipment: $70
Ingredients: $66
Totally unnecessary bottles and jars: $200
Total: $336
Beer output: 46L or about 21 6-packs. That’s a lot of beer!
If I had bought crappy lager at $8/pack, I would have only spent $168. If I had bought fancy craft beer at $15/6-pack, I’d be looking at $315. Still less.
But that’s because I spent an extra $200 on crap I didn’t need.
If you stick to the basics, you can make your first couple of batches for around $8/6-pack.
But!
But…
After that, if you resist the urge to upgrade your equipment, buy wort chillers and pony kegs and a jockey box and your own custom tap handle, you can make your own delicious beer in just about any style you want for just over $3/6-pack. Around here, that’s a steal.
WARNING: brewing is fun, and it’s really hard to resist upgrading. Since this first batch I’ve now accumulated over $500 in brewing equipment, accessories, and doodads. I have my own CO2 tank. I’ve dedicated 20 of my precious, shared 500 square feet to just this one hobby.
You have been warned.
Have questions? Comments? Brewing stories of your own? Let me know in the comments! Break the monotony of my non-brewing days with your scintillating interaction and inspiring wordplay. Or try to spell the sound of a bottle being opened. Whatever floats your boat, it’s all welcome.

PhisssssssssSSSSSSSSS- CHAAAaaah!
LikeLike
Now you’re just making me thirsty.
LikeLike
My favourite was the $200 of jars.
Good read, I never absorbed the how to process when I saw you make the beer way way back!
I will probably never make my own beer, but it does sound tempting at $3 per 6 pack.
LikeLike
Thanks Chris! It’s been a fun process. I still don’t know what happened to all those jars… the last time I saw one was when I made jam with a friend a couple years ago. 2nd worst $200 I’ve ever spent.
What are you up to these days?
LikeLike
Thanks for a glimpse into your exciting brewing times. I really enjoyed it.
Am in NZ for another 10 days or so and then home to New Westminster
Cheers and love Katy
LikeLike
Thanks Katy! I’d love to come visit when you’re back in town and hear about your trip 🙂
LikeLike